Lesson Plan
Love to Code Illuminated Story
featuring Microsoft MakeCode
Written by: Natalie Freed, Jie Qi, Andrew “bunnie” Huang. Illustrations: K-Fai Steele
Time needed: 15 minutes for story starters, 1 hour for programming, illustration, and story writing.
Grades: 3-5
This is an introductory lesson combining art and creative writing with paper circuits.
Working in teams of two, students creatively complete sentence blanks to describe a scene. They swap their story starters with another team, who turns them into an illustrated story. Each story starter features a description of a light source to set the “mood” of the scene. As part of the illustration, students learn to add a light circuit with copper tape and sticker LEDs. Then they use the programmable Chibi Chip to program the lights and animate their stories.
Topics: language arts, world languages, science, media arts
Objectives
This activity combines art and creative writing with a friendly introduction to programming light-up circuits. It can be used by language arts teachers, world language teachers, computer science educators, and more!
Student Think-Abouts
You and a partner are going to be creating a story starter involving a light source for another team to illustrate. You and your partner will also be writing and illustrating a story based upon a story starter created for you by another team. What sorts of objects radiate light?
Prerequisites
Students may benefit from a brief introducation to the properties of conductive copper tape; it can have sharp edges. Prior knowledge of how to use block code programs, such as Make Code, may also be helpful.
Materials
- Illuminated Story Starter templates and instructional handout (see PDF linked below)
- 1/8″ wide copper tape
- 1 LED sticker per team, assorted colors
Tips, Tricks & Call-outs
Students may use any web-connected device that has a headphone jack.
Tools
- Chibi Chip mounted on Clip
- Chibi Chip Programming Cable
- A web browser (via smartphone or laptop)
- Internet connection
- Drawing supplies such as colored pencils
Templates
Illuminated Story Templates & Instructional Handout
Link: Illuminated Story.pdf
Preparation
Teachers may wish to pre-cut copper tape for each student pair. Each team will need a copy of the “Story Starter/ Illustration” and “Your Story” templates. Each pair will also need a copy of the “Light an LED!” page (ideally in color). If teachers prefer not to copy the “Upload Some Code!” and “Write Your Own Light Code” sheets for each pair, they may opt to project the directions for the class to refer to as they work.
Resources
Digital and/or print resources: PDF of Love to Code Illuminated Story
Lesson Steps
- Using the Story Starter template, invite student pairs to spend up to 15 minutes filling in the blanks to set the ” mood” for a story involving a light source. Once they’ve completed this, encourage student pairs to swap their story starters with another team.
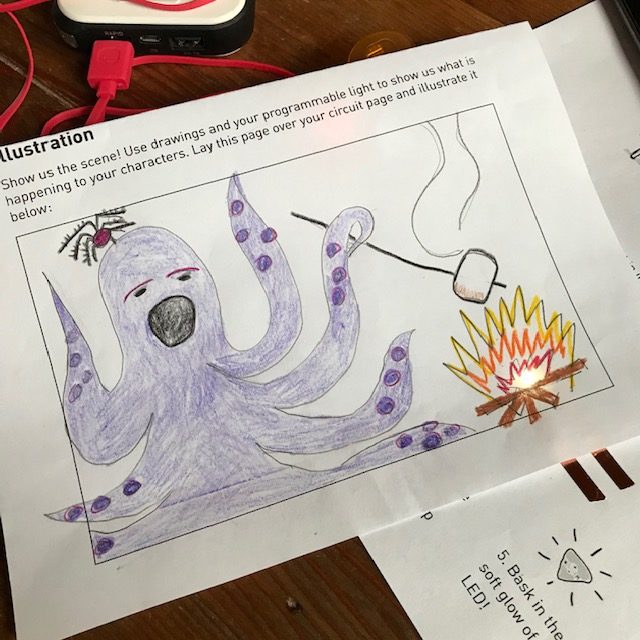
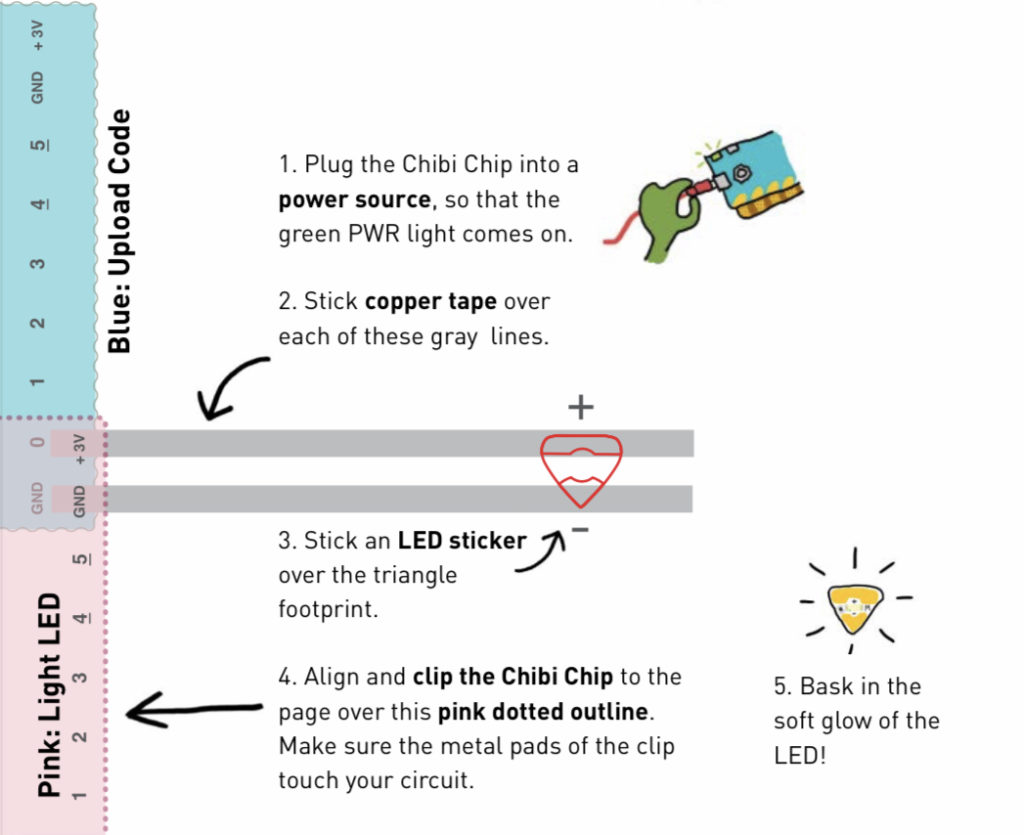
- Once teams have swapped their story starters, give them a few moments to think about and illustrate their stories. As they begin their illustrations, introduce them to how to build an electronic circuit using copper tape and an LED sticker. Guide them through the “Light an LED!” page, having them lay down their tape and a sticker, and then clip their Chibi Chip to their templates to test their circuits.
- Once students have tested their circuits, encourage them to lay their illustrations over their circuits to build upon their illustrations. Encourage them to think about how they might animate their lights to help better illustrate their scenes. Teach them how to upload code to their Chibi Chips and reposition them on their templates.
- Next, invite students to write down their stories, detailing the events that brought their characters together and what the objects they’ve illustrated tell us about the scene.
- Invite students to share their stories and illuminated artwork with their peers.
Tips, Tricks & Call-outs
When programming the Chibi Chip with students, remind them to turn the volume up to the max on their web browsing devices and make sure they are not muted. Having an assistant circulate to assist students with this might be helpful.
Extensions
This lesson may be adapted to meet the needs of different students. For example, students might continue adding to the complexity of their illustrations and circuits as they revise their written stories. Student might also be enouraged to create and illustrate additional scenes in a story book format that they share with other students.
A strategy that might encourage equity and participation for all students is to allow enough time for each student to practice programming the Chibi Chip, and to offer students the opportunity to share their stories and illustrations with other teams.
Standards
- ISTE 1.b.i, 2.b.i
- NGSS 4-PS3 Energy
- CCSS.ELA-LITERACY.SL.5.5
Featured Products
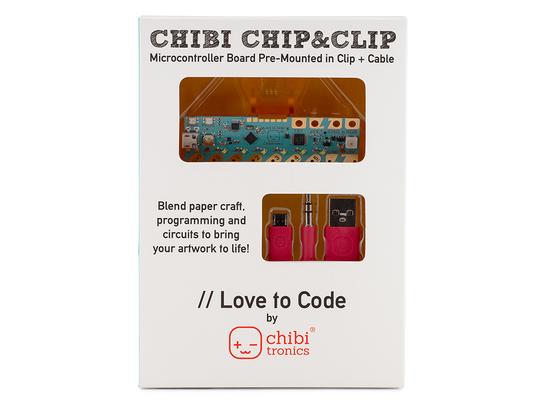
Love to Code Premounted Chibi Chip/Clip with Cable
Chibi Chip mounted on Clip
$39.00
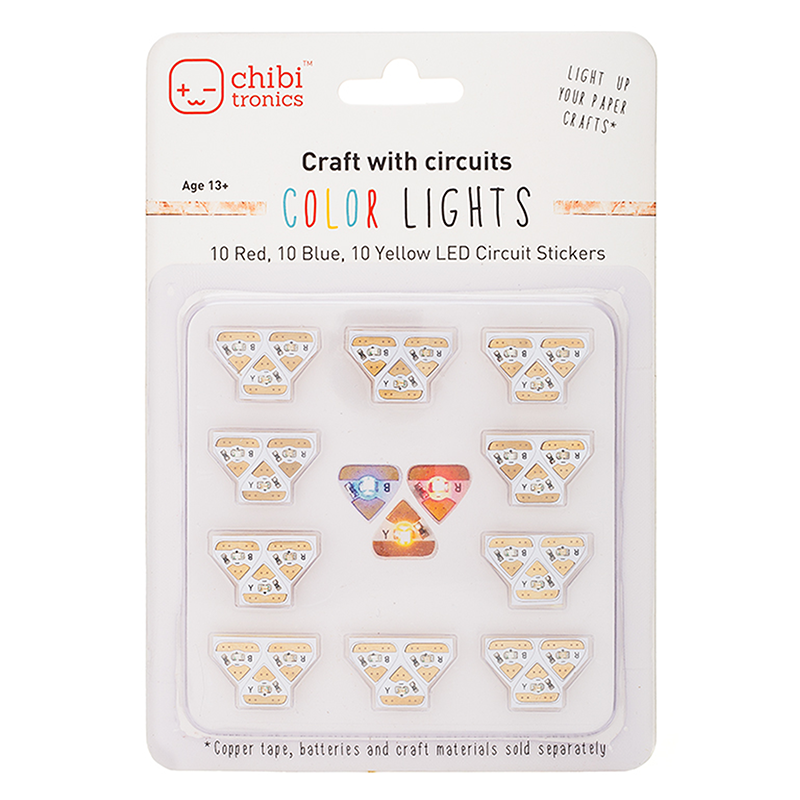
LED stickers in assorted colors
Circuit Stickers
$35.00
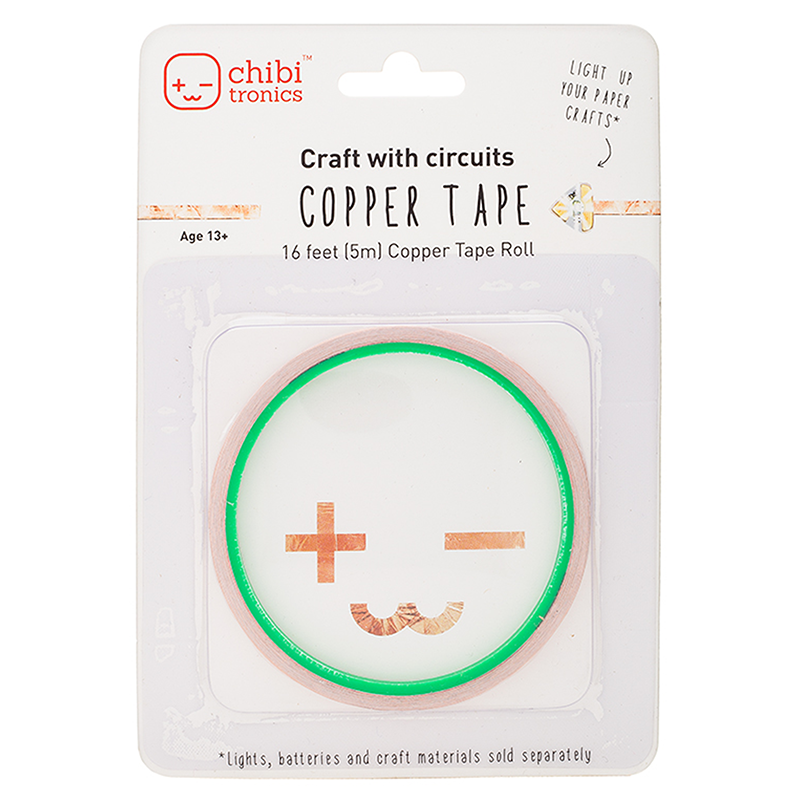
1/8″ Conductive Adhesive Copper Tape